Home Lab Fun: Virtualize a Domain :: Part II - Router Configuration
- Kenneth LaCroix
- Dec 29, 2017
- 2 min read
Part II: Router Configuration


Introduction. Detailed instructions on the installation of pfSense is not covered in this post but is fairly straight forward. The general steps are:
Create a virtual machine in Virtualbox.
Determine the ram and HDD space you want the machine to have, the defaults should suffice.
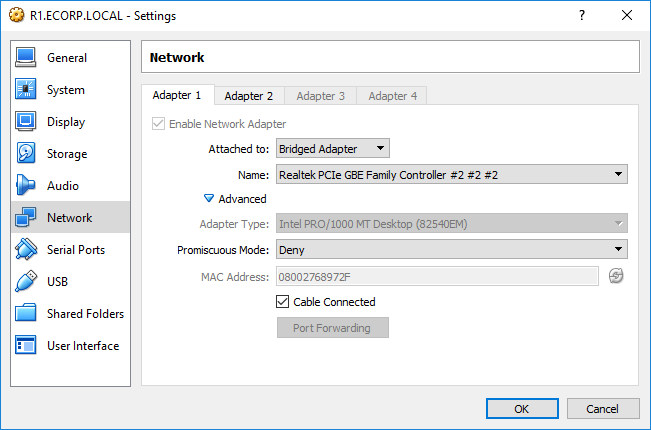
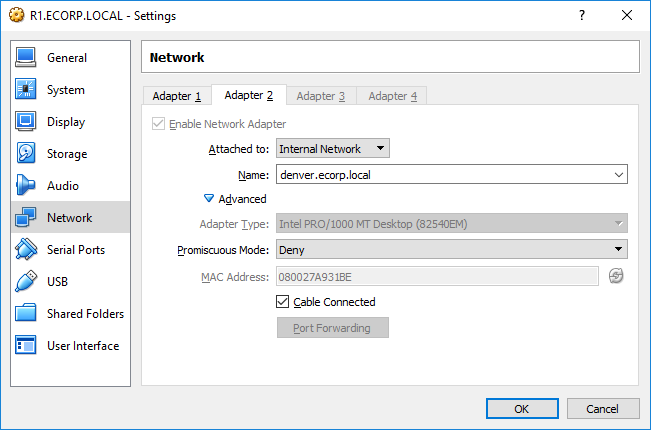
Create two adapters, one bridged to your computers NIC and the other set as 'Host Only'. Be sure to use a different network name. This will be crucial for DC2 as this name logically separates those two network.
Tell the VM to boot from the pfSense ISO. Instructions here.
Follow the prompts to install the operating system.
Detailed instructions are here.
Optional: Make the pfSense WebGUI accessible on the WAN. If you would prefer to access the pfSense WebGUI from the host computers browser instead of within the virtual environment, here are the steps:
Go to 'Firewall -> Rules -> WAN'. Create a new rule.
Action: 'Pass'.
Interface: 'WAN'.
Address Family: 'IPv4'.
Protocol: 'TCP'.
Destination Port Range: 'HTTPS (443)'.
Click 'Save' and 'Apply'.
The WebGUI is accessable at: 'https://x.x.x.x' where x is the DHCP address that the primary routed assigned the virtualized pfSense instance.
Creating the IPSec Tunnel. The two offices, Denver and Boston (192.168.0.0/24 and 192.168.1.0/24, respectively) are on completely different networks, separated by an ISP (192.168.2.0/24). Keep in mind the two phases of IPSec accomplish two very different tasks, the first sets up the encryption and resulting data confidentiality and integrity and the second actually establishes the link between the two networks. The general steps in setting up IPSec in pfSense are:
First Router:
Phase 1:
Go to 'VPN -> IPSec' and click 'Add P1'.
Key Exchange Version: 'IKEv2'.
Internet Protocol: 'IPv4'.
Interface: 'WAN'.
Remote Gateway: Whatever you will assign to the second pfSense instance, I.E. 192.168.2.205, or what your primary router hands out in DHCP.
Description: Whatever you want
Authentication: 'Mutual PSK' in other words a Preshared Key.
My Identifier: 'My IP Addess'
Peer Identifier: 'Peer IP Address'
Preshared Key: Whatever you want, longer and unique is better.
Encryption Algorithm: 'AES'
Hash Algorithm: 'SHA256'
Everything else: Leave as the defaults
Phase 2:
Click 'Add P2'
Mode: 'Tunnel IPv4'
Local Network: 'LAN Subnet'
NAT/BINAT Binding: 'None'
Remote Network: 'Network' '192.168.1.1/24'
Description: Whatever you want.
Protocol: 'ESP'
Encryption Algorithm: 'AES'
Hash Algorithm: 'SHA256'
PFS Key group: 'Off'
Lifetime: '3600'
Automatically Ping Host: '192.168.1.1'
Click 'Save'
Second Router:
Duplicate the same exact settings but don't forget to change the 'Remote Gateway' in Phase 1 and 'Automatically Ping Host' in Phase 2.
You can also create the firewall rule as outlined earlier to access the WebGUI from the WAN.
Go to 'Status -> IPSec' and click 'Connect'.
Verify that there is a connection, if not check and make sure that the settings are correct.
You can also run a ping test by going to 'Diagnostics -> Ping Test'. Change the 'Hostname' to the internal address of the other router, I.E. '192.168.1.1' and 'Source address to 'LAN'.
Lastly, you can run a packet capture by going to 'Diagnostics -> Packet Capture'.
Continue to Part III: Server Configuration

Comments